Showing posts with label Stampin' Up Recognition. Show all posts

Saturday, October 4, 2014

Kinda Eclectic Scrap Page

This is my favorite scrapbook page that I made for this years Stampin' Up! Convention Display Boards.  The set I used was Kinda Eclectic.  Colors are Island Indigo, Hello Honey and Very Vanilla.


 It's fun to take a stamp and use it "out of the box"....check out the circles on this page.  I stamped the sunburst image then punched it out with different sized circle punches.  Then I cut them to almost give a look of flower petals.  It makes it more acceptable for a page with a photo of my 3 boys, right?


Add a little button in the middle too....fun!


Hop on over to the Pinterest Board and check out all of the GORGEOUS creations from the Display Stampers for the SU! Convention 2014. Click HERE to see the board.


Happy Stamping,
Krista

Friday, October 3, 2014

Seasonally Scattered Fall Thanks

Sometimes you just make a card and you fall in love....well this is THAT card!  The colors, the layout, all of it!  I'm happy to share it with you today.  
This was on display at the 2014 Stampin' Up! Convention too.  :-)


I used the Seasonally Scattered stamp set and stamped it with Mossy Meadow on Naturals Ivory cardstock.  Then I stamped the same image on a piece of Hello Honey cardstock and cut out the "thanks" letters and glued it to the Mossy Meadow image.  Makes the letters really pop!  
The colors are:  Mossy Meadow, Lost Lagoon, Hello Honey, and Blackberry Bliss.
Do you see the paper piercing? I also added sponging on the edges to give an antique look.

Follow all of the Display Stampers on an AWESOME Pinterest board by clicking HERE.


Happy Stamping,
Krista

Friday, August 8, 2014

Happy Project Life Kinda Eclectic Card

The Project Life by SU! cards can be used in Memory Keeping, but really there is so much more you can make with them!  This card showcases one of the 4"x6" cards from the Everyday Adventure PL Kit. The "Happy is one side of the card and I cut off part of it.  The striped banner in the stack of the banners is the piece I cut off, just the other side of the PL card.  I stamped the sunburst from the Kinda Eclectic set behind the greeting.  Added some silver foil paper and star sticker from the Everyday Adventures accessories pack.  There you have it!


Happy Stamping,
Krista


Wednesday, August 6, 2014

Seasonally Scattered Scrapbook Page

I wanted to use this particular picture for my scrapbook page, so I matched the colors to it.  I used Blackberry Bliss, Hello Honey, Very Vanilla and accents with Gold Foil paper.  This page measures 8"x8".


I cut out 3 of each sized hearts from the Hearts Framelits.  I folded them in half, and then adhered them together.  Then I fanned them out to create a 3D look.  The stamp set is called Seasonally Scattered.


Happy Stamping,
Krista

Tuesday, August 5, 2014

Project Life x SU! Hanging Memories

Creating projects for the Convention Display Boards we were asked to make "out of the box" projects using the Project Life by Stampin' Up! kits.  This is the Everyday Adventure Kit and Accessory Pack.


The only things I used that weren't PLxSU was the Pumpkin Chevron Ribbon, the Skinny Mini Alpha set and some markers for journaling.

I love how this turned out.  I used the 4"x4" cards and some of the accessories from the kit.  Cute, huh!?


I just adhered the Pumpkin Ribbon to the back of each card.  Super fun!  A hanging Memory Keeper!


Happy Stamping,
Krista


Sunday, August 3, 2014

Lullaby DSP and Amazing Birthday

 There is GOLD and SPARKLE on this card, I promise!!  
I used Gold Foil Paper for 2 of the banners and then sequin stars and circles.  Can you find them?

This card made the Display Board at the Stampin' Up! Convention, too.  It's a great card to make if you like sparkle and layers.


The DSP is Lullaby.  The colors are Hello Honey, Crisp Canteloupe and Baked Brown Sugar and Gold of course.

Make sure you follow all of the Display Stampers on our Pinterest Board. Click HERE for the board.


Happy Stamping,
Krista

Saturday, August 2, 2014

Kindess Tag With Kinda Eclectic

 I'm so bummed the photo looks so yellow....on my iPhoto program it looks fine.  Sorry!
Anyways....I'm such a vertical/horizontal card maker I pushed myself to go tilted....HA! 


I cut a cute little tag with the Tag Topper Punch and stamped the leaf on it.  Added a little sprout of various ribbons, punched some flowers from the Itty Bitty Punch Pack and there's the tag!


The butterfly was easy with the stamp and coordinating punch.  I added some pearls and a banner for the greeting. Done!


Make sure you follow all of the Display Stampers on our Pinterest Board. Click HERE for the board.


Thursday, July 31, 2014

Give Thanks With Seasonally Scattered

3D PROJECT TIME!!
I found a gem at Michaels....Burlap covered FLAT canvases.  Oh my, so cute!  I wanted to use it for a Convention Display Board Sample.  This is what I came up with...a "GIVE THANKS MEMORY KEEPER"


I asked my 3 boys to each write something they are thankful for.  (I wrote the one for Travis, since he's just 3, but he did tell me what to write).
So cute, huh?!  I hot glued the clothespins down and then used them to clip on the little thankful notes.  Each thankful note has a little bit of the "thanks" stamp image.  The backing is a Window Collection Framelit.
I can have the boys write a new note each year and just clip it onto the clothespin.


I used the Autumn Accents Die for the leaves and then embossed them with the Woodgrain Embossing Folder.  Added some Vintage buttons topped with some linen thread.
The "give" is cut from a stamp set in MDS cut out with my Silhouette Cameo.  I stamped the "thanks" image onto Naturals Ivory cardstock and then stamped it again onto Hello Honey.  I hand cut aka "fussy cut" the letters out of the Hello Honey and put it onto the other stamped image to draw more attention to the word.  I sponged the edges with Soft Suede to add a soft look.


These are the boys that wrote these adorable thankful notes:


Make sure you follow all of the Display Stampers on our Pinterest Board. Click HERE for the board.


HAPPY STAMPING,
KRISTA


Wednesday, July 30, 2014

Love Seasonally Scattered Part 2

I think this card was quite clever. Don't ya think?!  This one was on the Display Board at the Stampin' Up! Convention.  Woot!!


To make the "LOVE" cloud:
1. Stamp image in Pool Party ink on Whisper White Cardstock.
2. Randomly, free-hand cut out stamped image into the shape of a cloud.
3.  Lay the cut out image over Silver Foil Paper...following the same pattern of the cloud, cut around it
leaving at least a 1/8" edge so it gives a layered look.
There you have it....EVERY CLOUD HAS A SILVER LINING!!  

To make the Background:
1.  Cut one edge of a piece of heavy cardstock or the packaging for your DSP into a random scalloped edge.
2.  Ink up a sponge with the Pool Party ink pad.
3. Lay the template onto your card front...toward the top of your card and start sponging just along the edges of the template. 
4. Slide the template down and shift to one side then sponge it again.
5.  Continue sponging the entire cardfront until you get the look you want.

To make the tiny 3D hearts:
1.  Punch out 3 tiny hearts from the Itty Bitty Accents Punch Pack for each of the hanging hearts.
2. Crease each heart in half.
3. Adhere one heart flap to another one...using 3 for each 3D heart.
4. Glue it down where you'd want it.

I hope the instructions make sense.  I will do my best to answer any questions you have in the comments section.  Or you can email me at kristajstamps@gmail.com
I guess it's time for me to breakdown and start making some video tutorials.  LOL!


Make sure you follow all of the Display Stampers on our Pinterest Board. Click HERE for the board.  


Saturday, July 26, 2014

Amazing Birthday So Thankful

Have you ever seen a stamp set and wondered....what in the world can you do with THAT stamp?  Well, friends, this little thankful banner stamp from Amazing Birthday set was that one!
I wanted to use the NEW in colors and came up with this card...


A close up on the little medallion reveals the details.  Here's how I made it:
I punched out a 1-1/4" circle and snipped the edge to give it a look like petals.  Then I fluffed them up.  
The little gold twisty ribbons are pulled from the gold Bakers Twine.  Thanks to Shelli Gardner the SU! CEO for giving me that tip!  :)  I finished it off with a Mossy Meadow ribbon tail. 
Layering up a bunch of different colored banners and one stamped on on the bottom layer and the greeting banner and you're done!


I really really loved this card and was SO glad to see it on the Display Board at the SU! Convention.  Make sure you follow all of this years Display Stampers on Pinterest. Click HERE for the pin board


Happy Stamping,
Krista

Friday, July 25, 2014

Amazing Birthday Scrapbook Page

It's time to show off my scrapbook page for the Amazing Birthday stamp set.  I really love the colors!  I drew them all out from the Sweet Taffy DSP that came in my goodie box.  When I was looking through photos these popped out thanks to the slip and slide and all of those bright colors.


Here is a close up of the stamped image. Can you see the stamped banners?  I also used the bottom piece of the title stamp for the polka dot banner.  I threw on some buttons, paper clip and a little punched out star.  There you have it....a cool, bright, fun page.  


See.....this one made the SU! Convention Display Board.  It was so much fun seeing people take pics of it, too.  I'm a proud mama!!


Make sure and follow all of us on Pinterest as we share our creations for the Stampin' Up! Convention 2014. 
Click HERE for the link right to our Pinterest Board.


Happy Stamping,
Krista


Monday, July 21, 2014

Display Board Amazing Birthday Bag

I am so excited...so, SO excited to share with you all of the projects I made for the Stampin' Up! Display Boards at the Convention this year. The first project I am going to share is an altered gift bag.


I used the Amazing Birthday stamp set and the colors are Blackberry Bliss, Very Vanilla and of course, lots of gold.  I measured the front of the bag and cut the cardstock to fit.  I stamped and cut the banners then added a strip of Blackberry ribbon and tucked it behind the cardstock.  I adhered the cardstock to the front of the bag with Tombo Mono Liquid Glue.  I blinged it up with a strip of gold sequins.  The tag is just stamped with Blackberry Bliss on Very Vanilla and I used the tag topper punch for the top of it.  I took the gold bakers twine and tied on some gold sequins, Blackberry stitched satin and vanilla seam binding ribbon.  Easy, easy  project, but looks so beautiful!!

Here's a photo of the whole gang!  I am SO truly honored to be a part of this with these awesome ladies and very talented artists!!


See....it's all for real!  I am still coming off of all of the excitement.  I hope you enjoy all of the goodies we share.  Please make sure you check out all of the gorgeous projects!!

Follow us on Pinterest....click here for the board or cut and paste this link: http://www.pinterest.com/jentimko/2014-stampin-up-convention-display-stampers/


Happy Stamping,
Krista Jensen


Thursday, April 24, 2014

SU! Display Board Entry

I LOVE being a Stampin' Up! Demonstrator.  10 years and going strong!  I love to exercise the creative side of my brain....it's relaxing, fun and it makes me feel good when people love what I make!

I am entering the contest to be a Display Stamper for Convention 2014...here are my entries...

3D Project #1
A 2"x4" Altered Wood Block.  I made this for my husband 2 years ago for Father's Day.  I get to look at it often and I love the way it turned out, don't you?!  :) I even used a hammer and nails for the flags on the top of the block!  Great gift for the woodworker guy(or gal) in your life!


Some close ups of the details...


3D Project #2
An altered wood frame, turned into a Christmas Countdown Calendar.
I stained the frame with the Soft Suede ink Refill and a Stampin' Sponge.  I really like the effect it gave.  
I made DOZENS of these for a Christmas Boutique and SOLD OUT!  They were the hit of the day for sure!!


Card Entry #1
I made this card for a swap at Convention last year.  The little spritz of Silver Glimmer Spray sure added a nice touch to the colorful hexagons....


Card Entry #2
I saw a blog post from the SU! page and made a frame of the framelit with the silver glimmer paper.  Added some Petite Petals and viola....


Card Entry #3
This is a vellum, gold, gold and more gold extravaganza!  I love this bright card....it's got serious energy!


And last, but certainly not least....my 
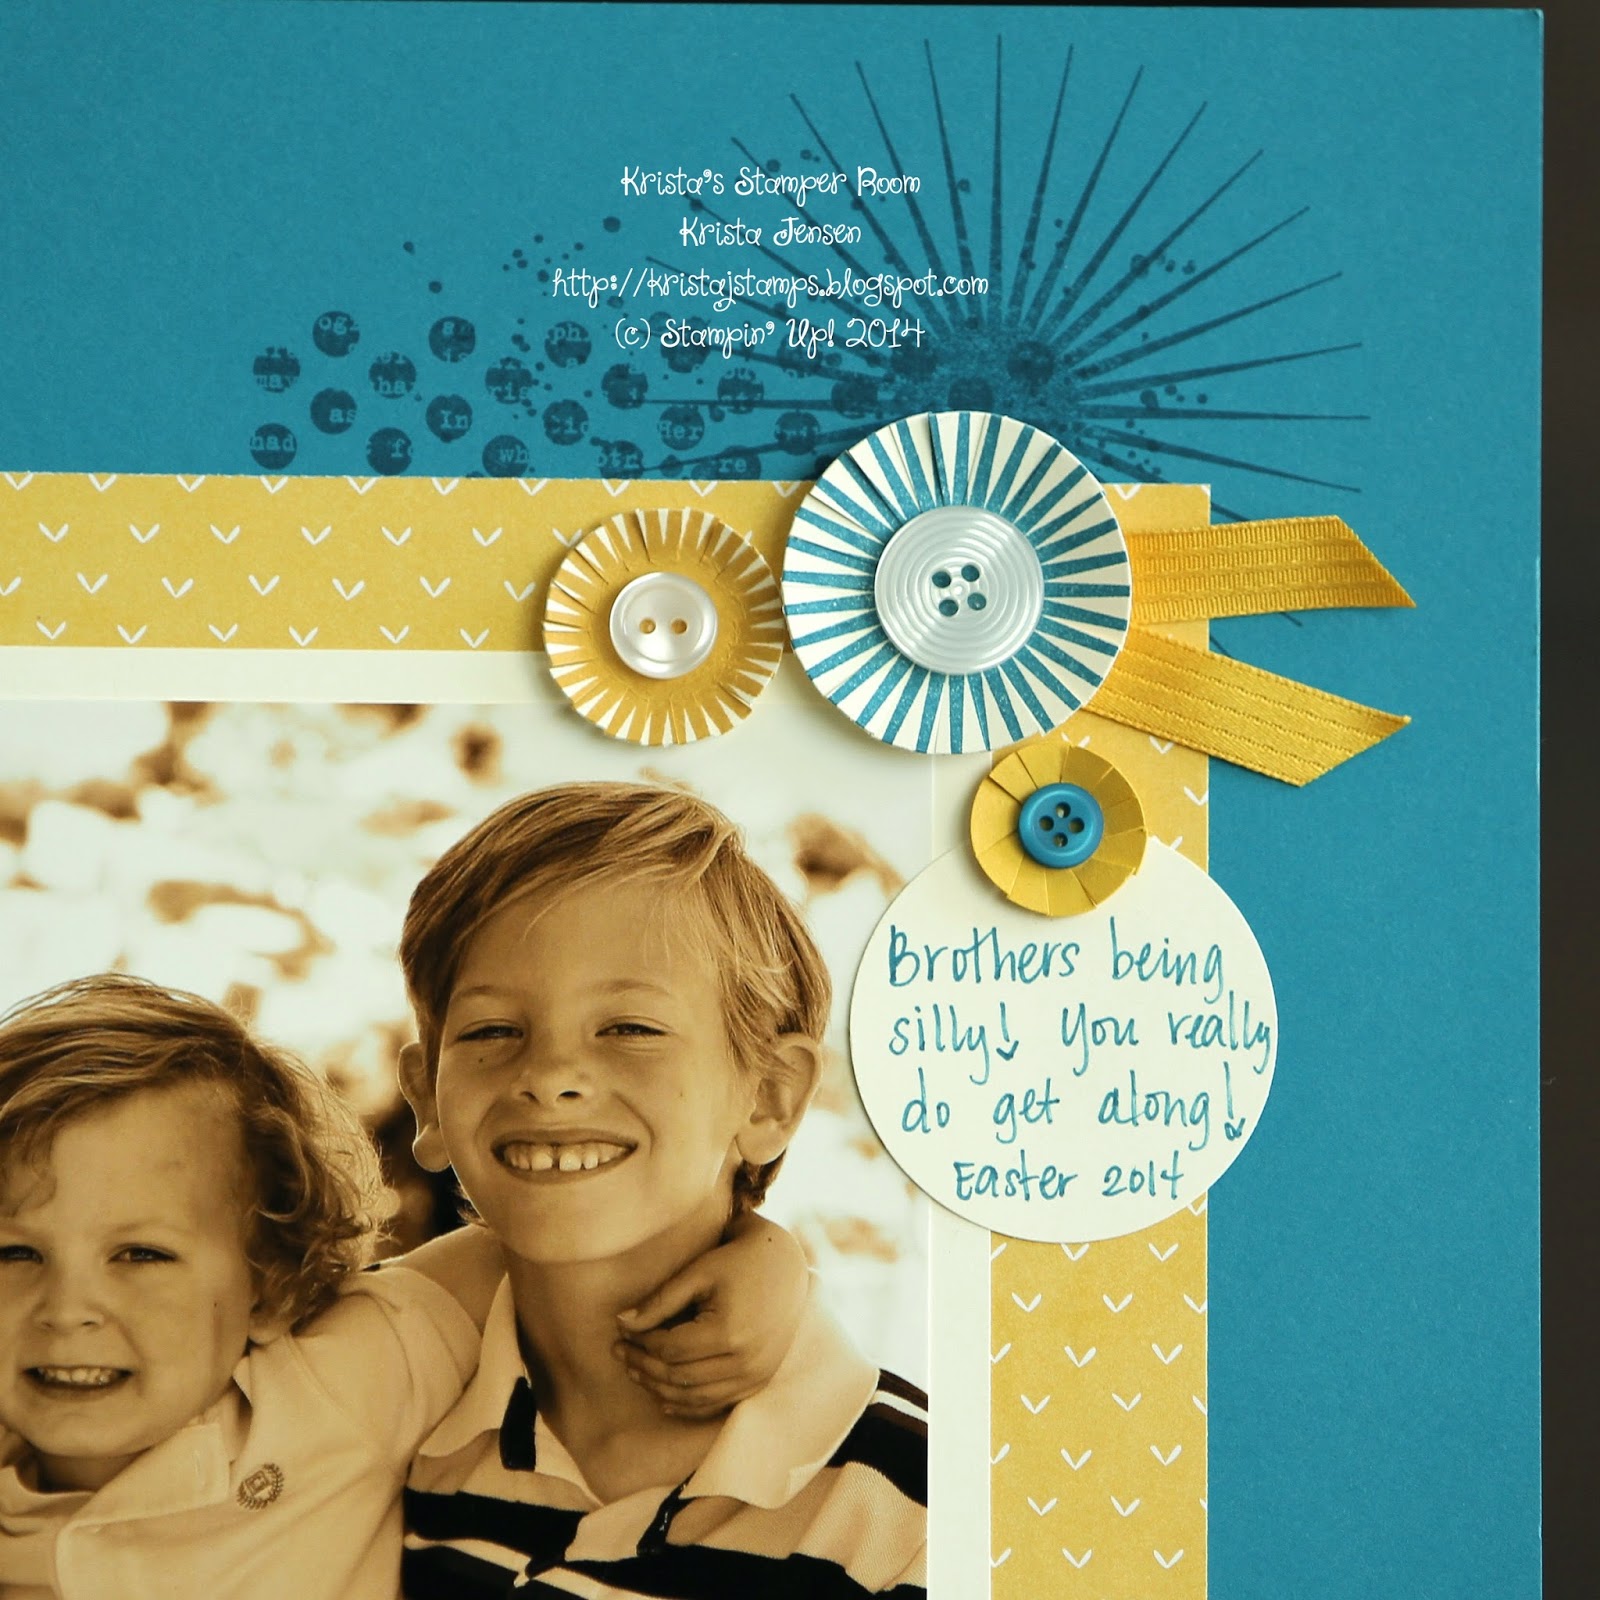
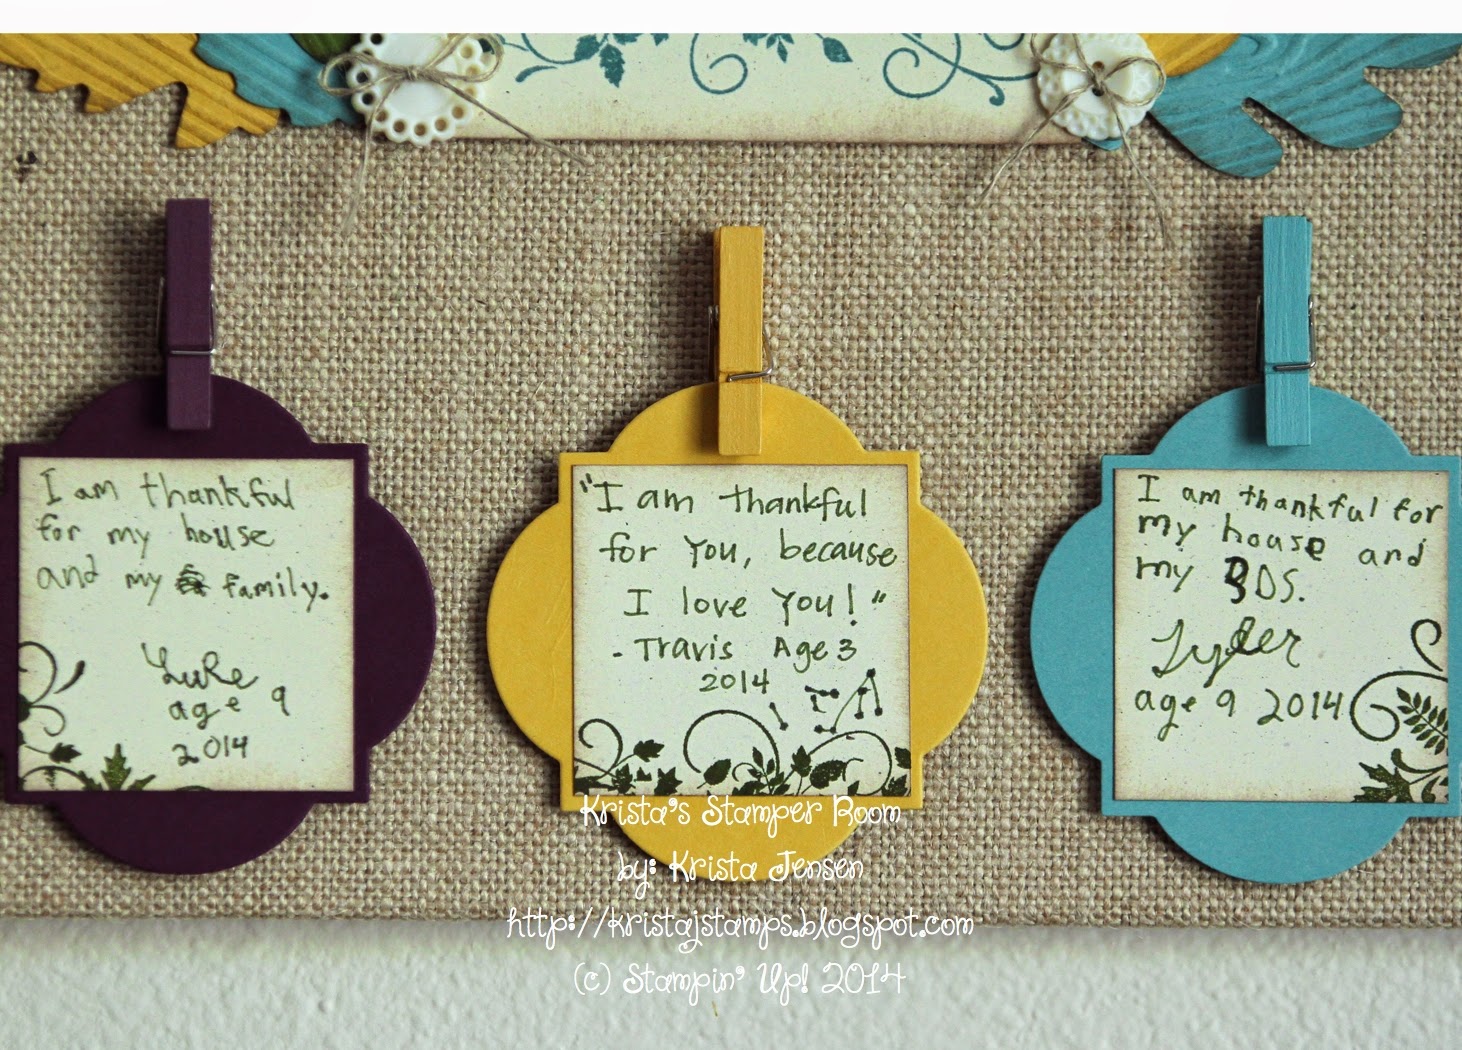
Scrapbook Page Entry
I LOVE LOVE LOVE this page!!  Reason #1 my Grandparents are Awesome!!  
Reason #2 there is absolutely no detail spared!! Reason #3 I got to use my new SILHOUETTE CAMEO to make the Gold Foil Paper leaves and stem.  It's from the Betsy's Blossom Set on MDS.  :)


More GOLD accents all over, but not too much.  The CORE-dinations Cardstock is gorgeous with the new Spiral Flower Die....rub it down on the edges a bit and here you have it!!  (So sad to see this go)


After looking over all of my entries, I realized that I like a little bit of sparkle on everything.  From Heat Embossing, sequins, Gold Foil paper to Shimmer Paper...a little bit goes a long way!

I had fun going through my old projects and can't wait to create some new ones with NEW Stampin' Up! products!

Happy Stamping,
Krista Jensen